Pierakstīties
Aizpildiet laukus un nosūtiet reģistrācijas pieteikumu. Jūsu pieteikums tiks pārskatīts pēc iespējas ātrāk.
Ja jums jau ir konts, lūdzu, pierakstieties vai atjaunojiet savu paroli.
Pierakstieties
Lai pieteiktos, aizpildiet laukus zemāk.
Un ir laba diena.
Ja jums nav konta, lūdzu, pierakstieties vai atjaunojiet savu paroli
Atjaunot paroli
Lai atiestatītu paroli, aizpildiet zemāk redzamo lauku. Pēc tam jums tiks paziņots e-pastā.
Ja jums nav konta, lūdzu, dziediet vai pierakstieties, ja tāds ir.
What is an accelerometer
- The sensor performs according to its specifications;
- The sensor is still «healthy».

Calibration standards
- ISO 16063-1:1998 Methods for the calibration of vibration and shock transducers — Part 1: Basic concepts
- ISO 16063-12:2002 Methods for the calibration of vibration and shock transducers — Part 12: Primary vibration calibration by the reciprocity method
- ISO 16063-21:2003 Methods for the calibration of vibration and shock transducers — Part 21: Vibration calibration by comparison to a reference transducer
- ISO 16063-31:2009 Methods for the calibration of vibration and shock transducers — Part 31: Testing of transverse vibration sensitivity.

Calibration Equipment
- a reference transducer;
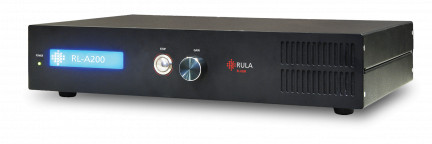
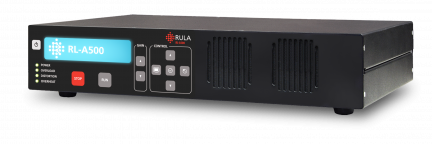
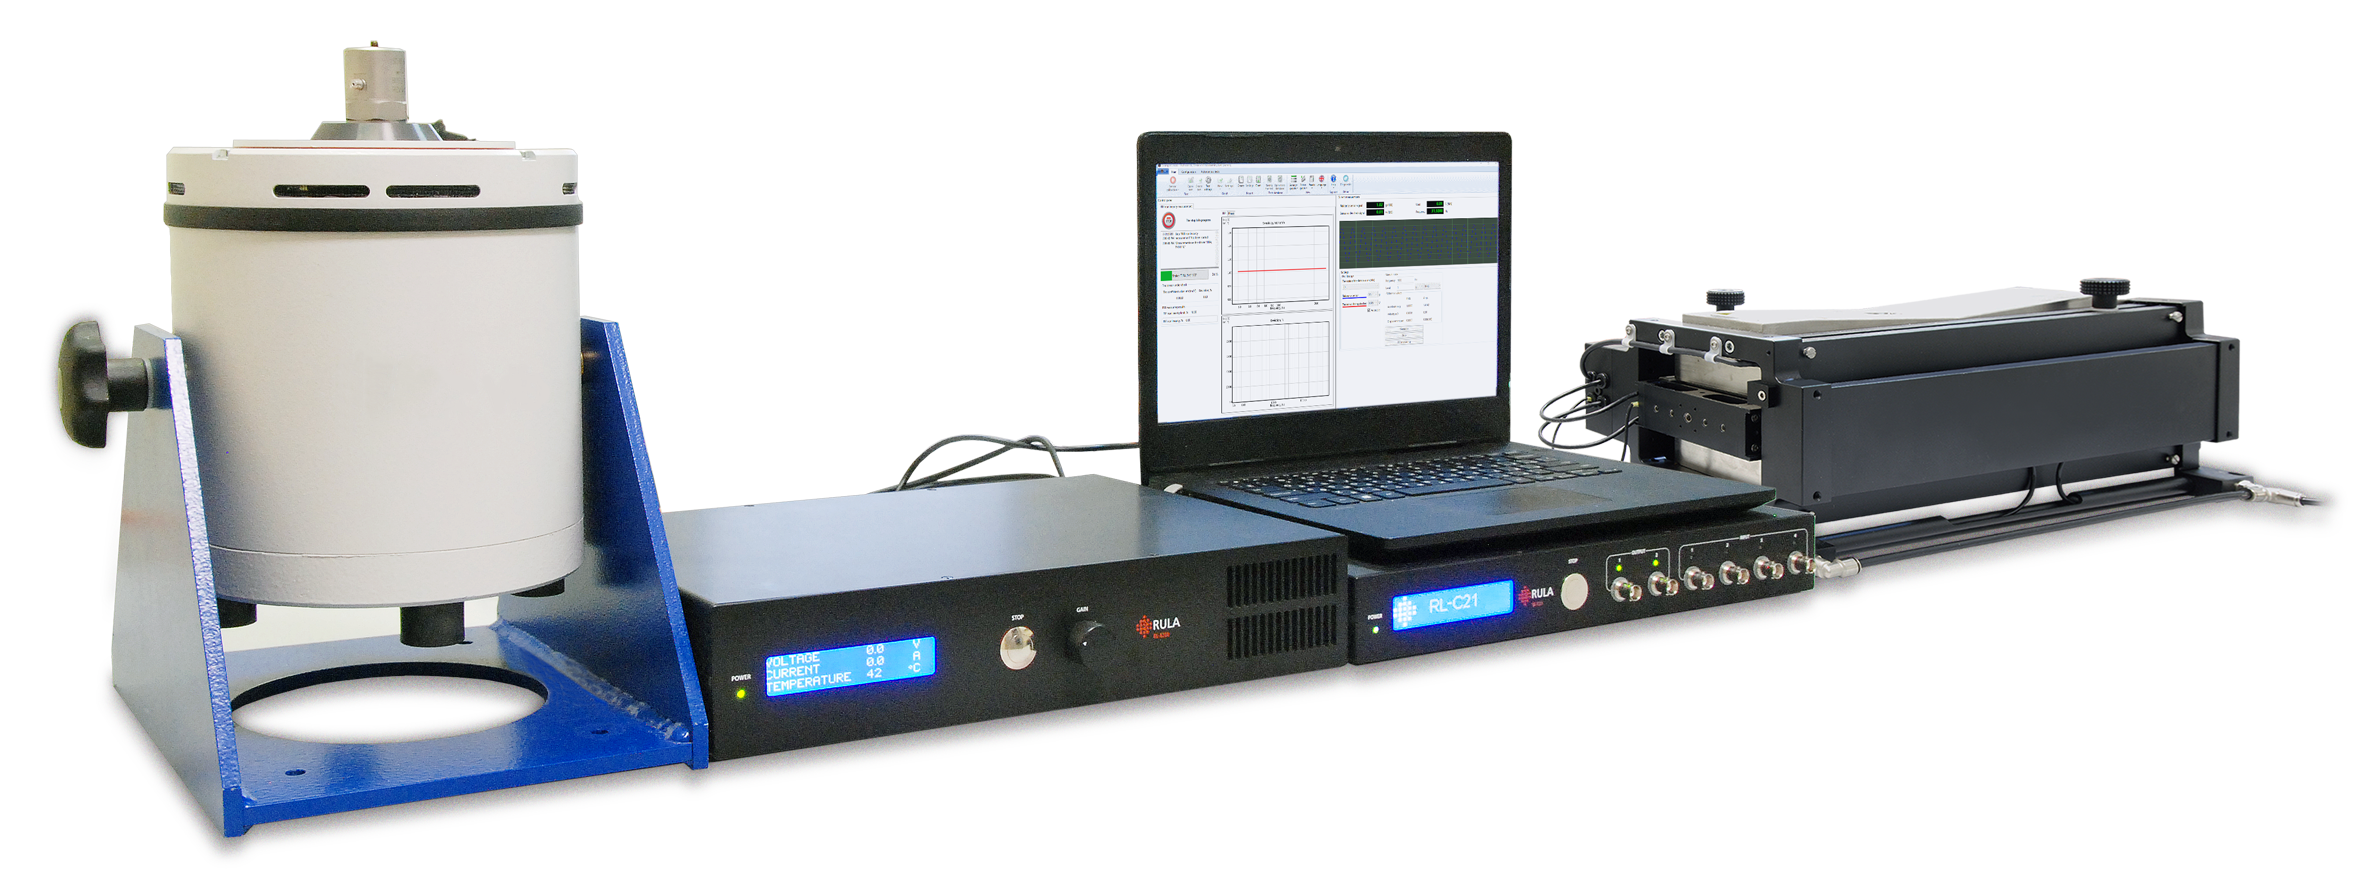
- a shaker with a power amplifier;
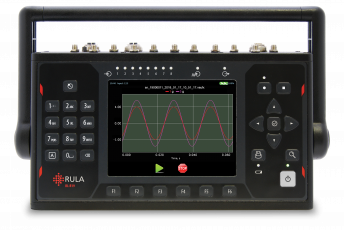
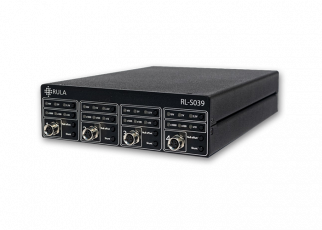
- a specialized controller with precise input and output channels;
- a PC with calibration software.
The typical calibration set is shown in the picture. It includes a reference sensor mounted on the shaker, a shaker and an amplifier.
If the sensor under calibration is mounted directly on the reference sensor, such a procedure is called back-to-back calibration.
Calibration Procedure
- Reference sensitivity measurements. During the operation, we determine the sensitivity on the reference frequency (usually 160 or 200 Hz);
- Frequency response measurements. During the operation, we determine the sensitivity on all the frequencies of the sensors frequency range.
Measurements
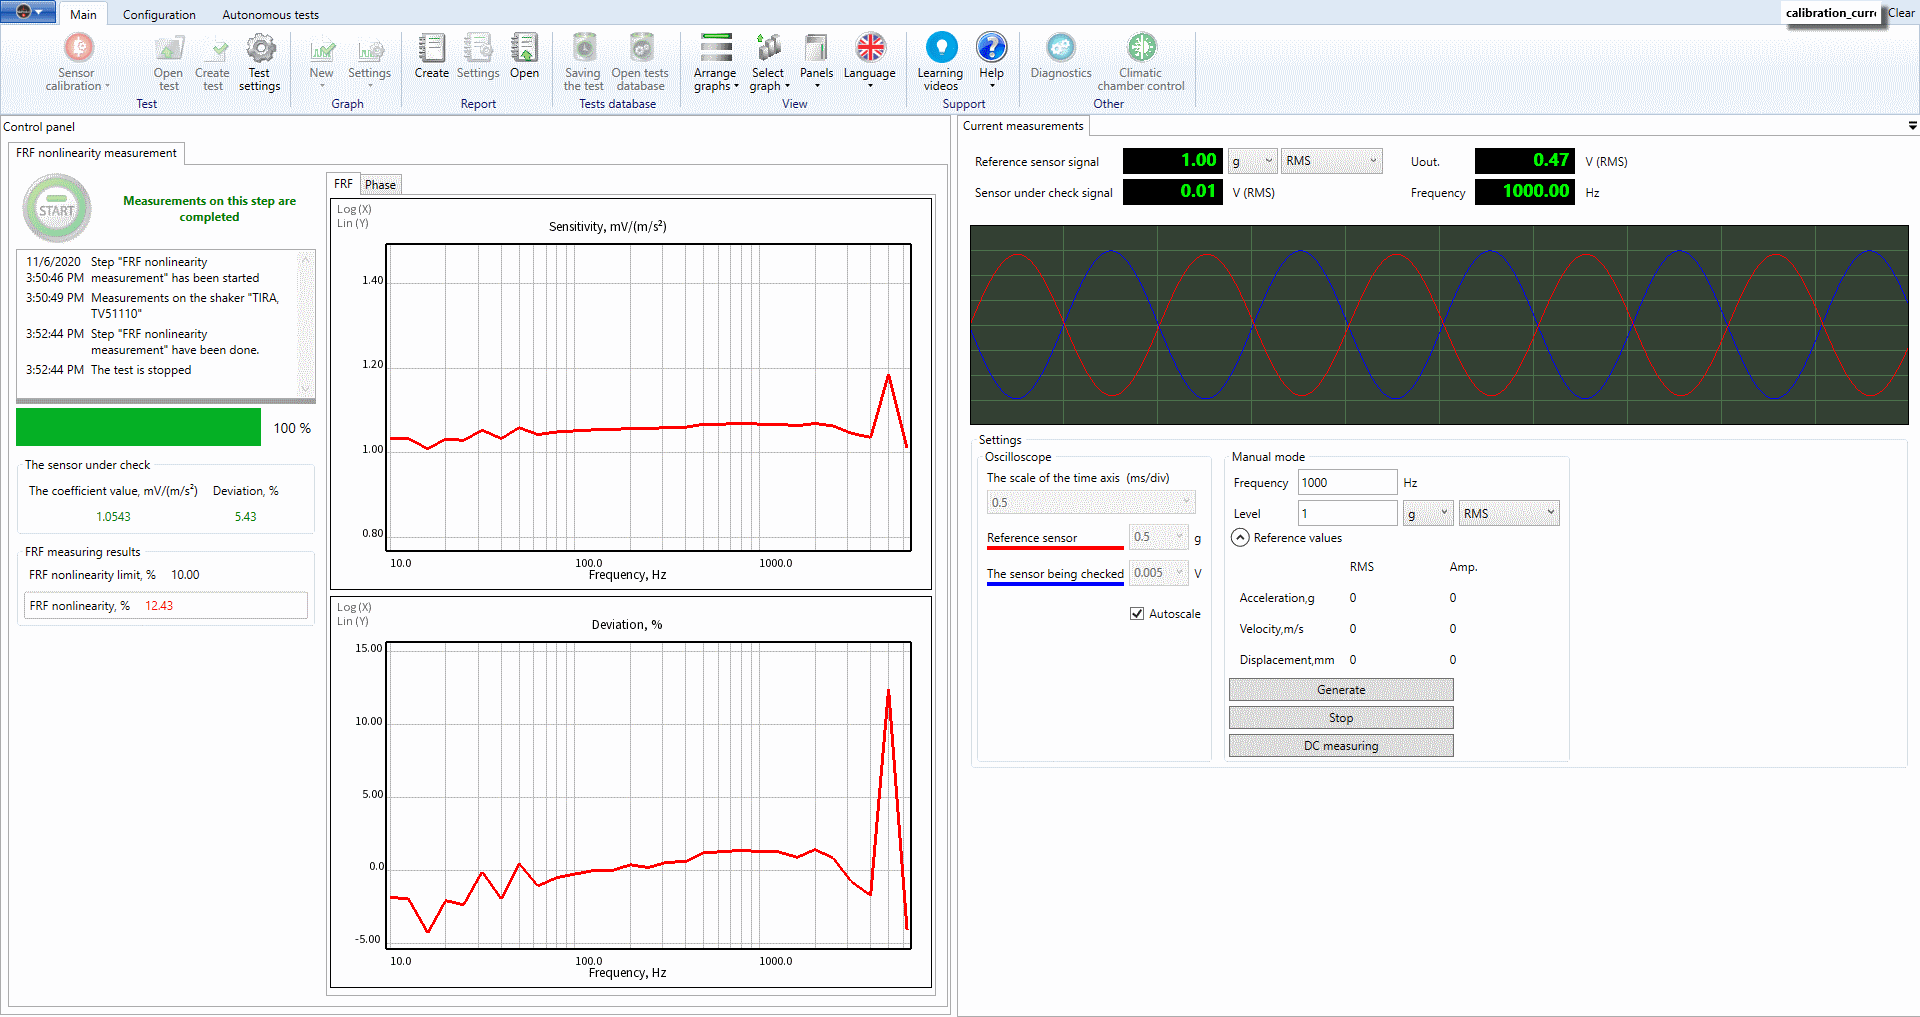
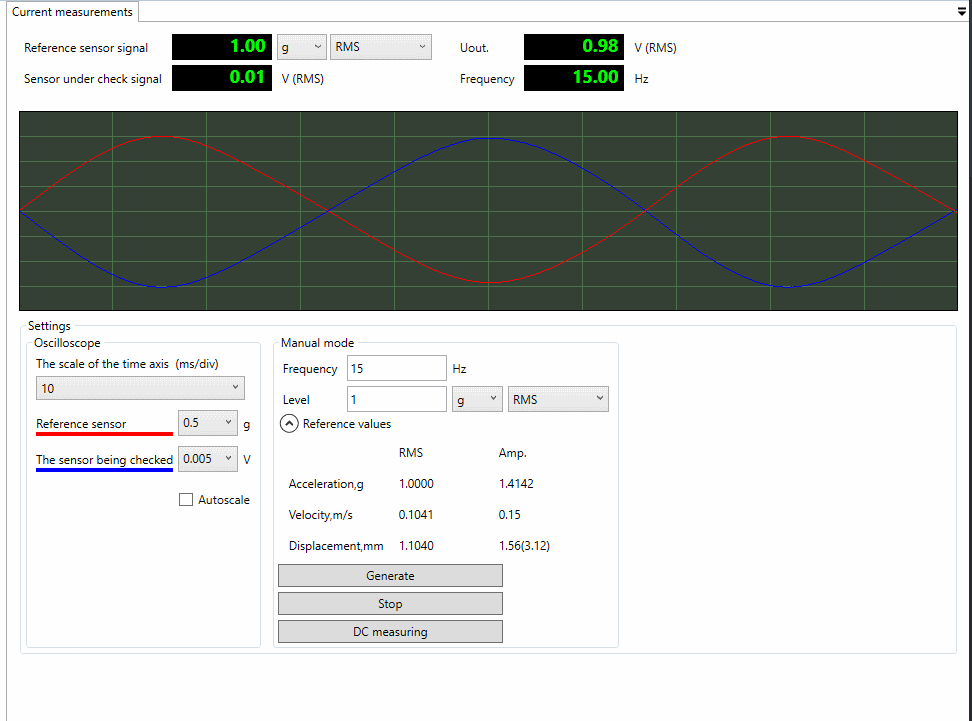
Usually, a sine wave is used to excite both sensors.
When the sine wave is being generated on the shaker, the output signals of the reference sensor and sensor under calibration are measured.
After that, sensitivity is calculated by the formula:
 |
Sc – sensitivity of the sensor under calibration; |
The procedure repeats itself on five or six frequencies distributed through the frequency range of the sensor under calibration, one frequency is the minimum, one the maximum and one the reference frequency of the accelerometer.
Faster calibration
In spite of the fact that with RULA equipment all the excitations and calculations are carried out automatically, without any input from the user, sine excitation procedure takes long time.
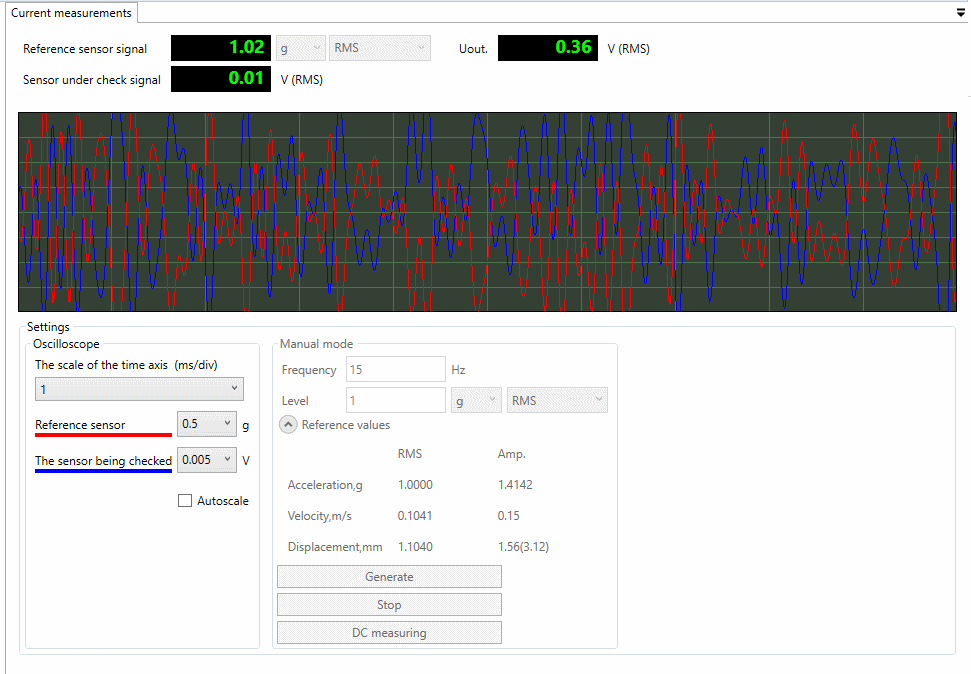
Therefore, in addition to sine wave excitation, TestUp software provides calibration with Random signal excitation. In this case, the shaker is excited with a random signal, which contains all the frequencies in the sensor frequency range. If a random signal is used, sensitivities on all the frequencies are measured simultaneously. This way reduces the calibration time to three or four minutes.
Better accuracy
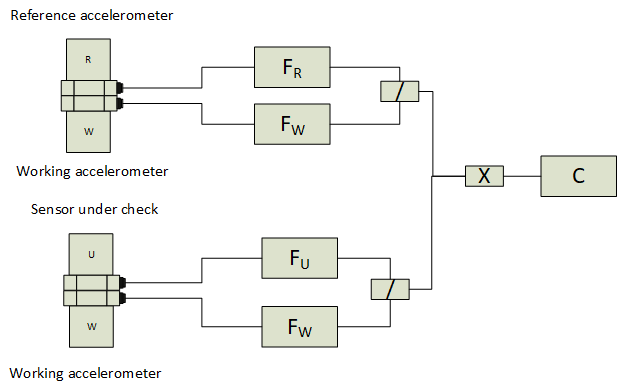
Traditional back-to back calibration can be inaccurate if the sensor under calibration is bigger or heavier than the reference sensor. The error grows with the increase of frequency. To avoid such an error, in TestUp software we implemented the procedure of calibration by substitution.
Besides correcting the errors caused by the sensor mass and sizes, calibration by substitution eliminates the errors caused by the non-linearity of measurement channels and reduces the uncertainty of measurements.
Creating reports
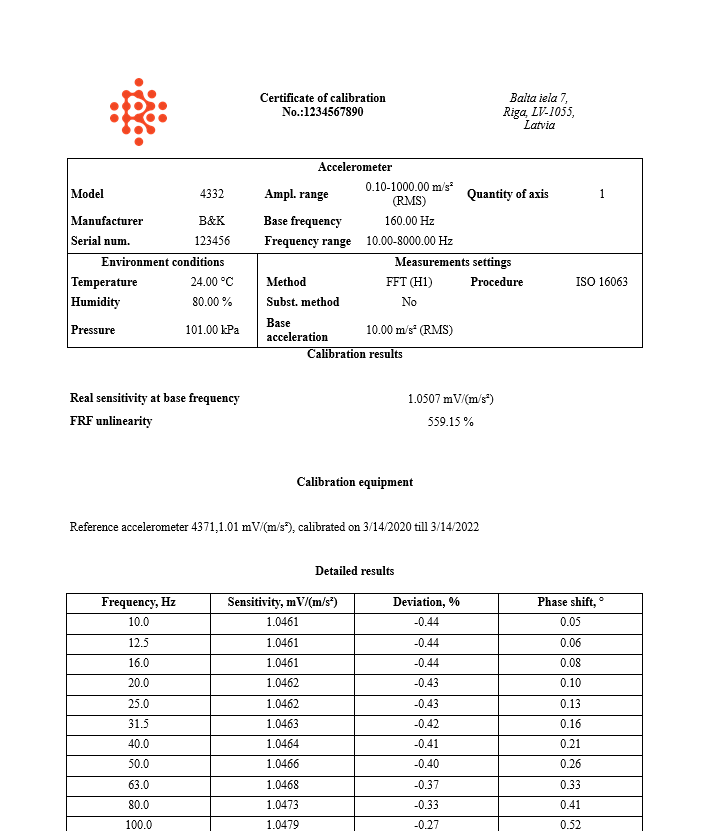
After any calibration, TestUp automatically creates a comprehensive report, which includes:
- measurement results in the form of tables and graphs;
- detailed information about the reference sensor;
- calibration date and place, etc.
Research and development
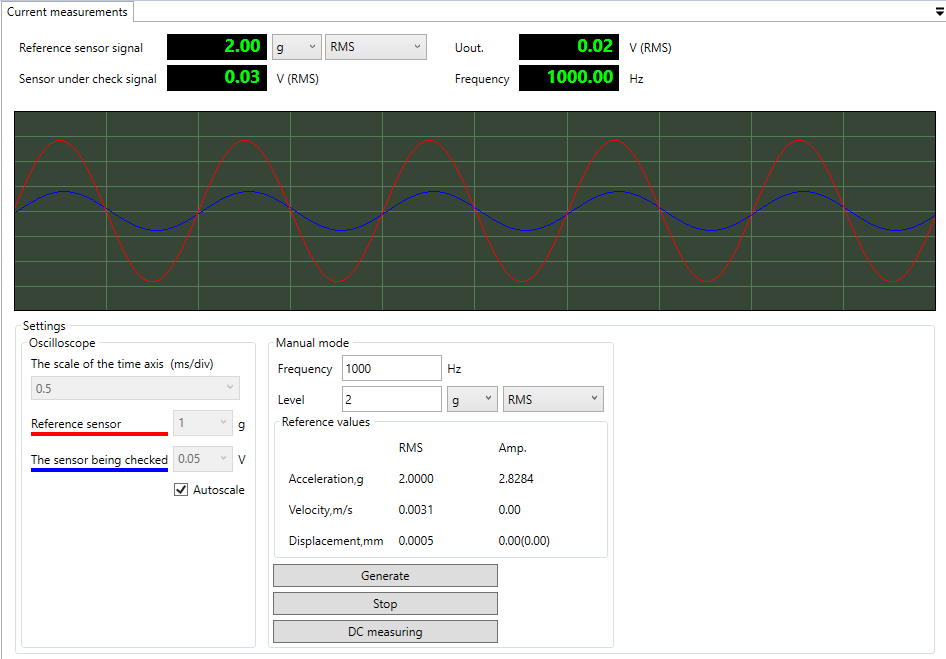
Besides the automated measurements, a manual measurement mode is implemented in TestUp.
The mode allows specifying the frequency and amplitude (in acceleration, velocity or displacement units) manually and checking the response from the sensors. The mode is highly useful for research purposes.
Innovative, yet easy-to-use software
RULA Technologies have developed an extensive subsystem of vibration transducer calibration.
It is an innovative, yet easy-to-use software, which provides automated calibration of a wide range of vibration sensors. The system uses a range of calibration methods, innovative and well-established, according to ISO 16063-21.
Our advantages are:
- Compliance with international standards;
- Innovative calibration methods;
- Short calibration time;
- Easy intuitive interface;
- Comprehensive reports.


